In deze handleiding ga ik uitleg geven hoe we een bluray tot een kleine mkv kunnen converteren zonder dat het echt zichtbaar is.
De benodigdheden:
HdBrStreamExtractor ->
http://www.mediafire.com/?cddcmke6mgglldvEven een aanvulling voor de windows 8 gebruikers.
Het programma HdBrStreamExtractor mag niet staan in Program Files ,dit geeft foutmeldingen.
Elders zijn er geen problemen.
QuickMediaConverter ->
http://www.cocoonsoftware.com/BDSup2Sub ->
http://www.videohelp.com/tools/BDSup2SubMkvtoolnix-unicode-3.2.0. ->
http://www.mediafire.com/?22zrhl650zgxxe9Hoofdstuk 1
Een bluray demuxen .
Om een bluray te bewerken hebben we eerst een losse video ,audio ,ondertitelingen ,en hoofdstukken nodig.
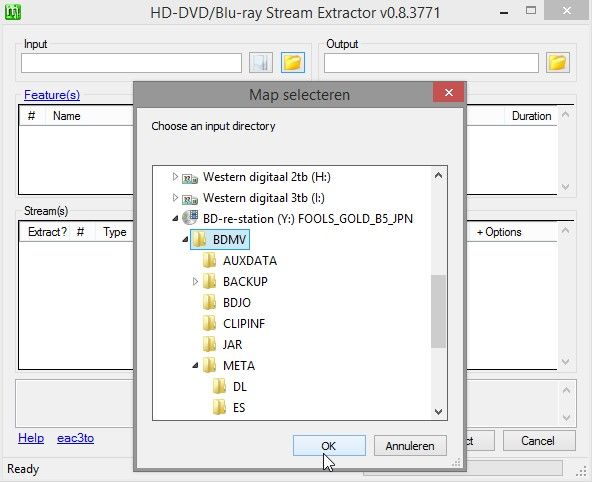
Open HdBrStreamExtractor
Klik op 'Select input folder'.

Ga naar het mapje BDMV van de bluray.
Klik op ok.
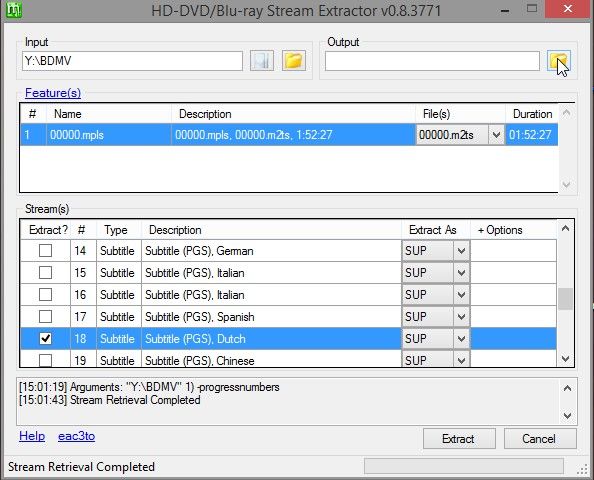
Klik op Feature(s)
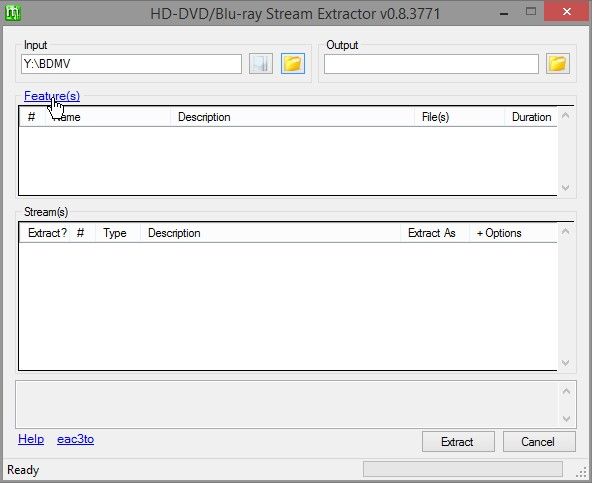
De inhoud van de bluray wordt weer gegeven.
Vink aan wat je nodig hebt.
Mpls staat voor een titel .
De juiste titel herken je aan de tijd van de hoofdfilm.
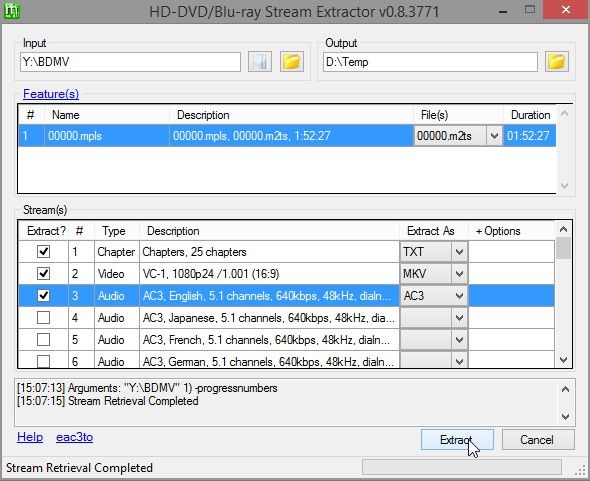
Vink chapter aan .
Vink video aan ,en naar container mkv(behoud informatie)
Vink audio aan ,die je gelijk naar een ander formaat kan converteren (gelijk of kleiner formaat)
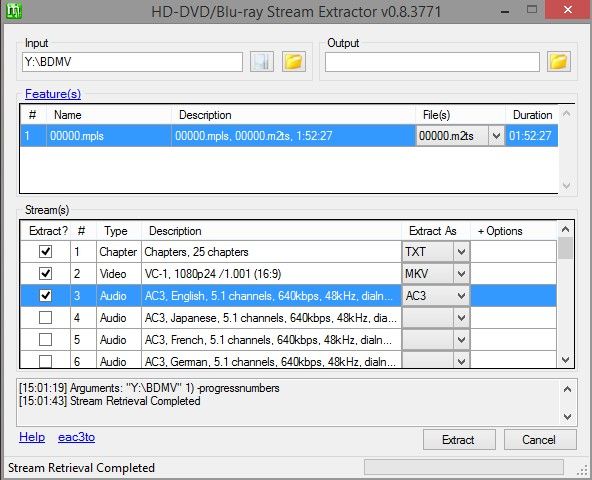
Vink subtitle aan.
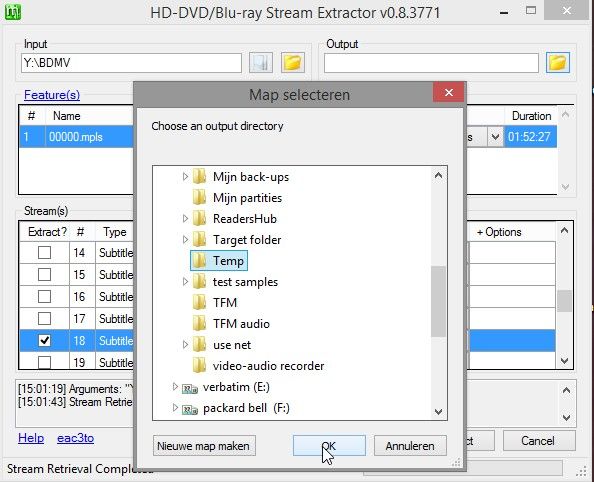
Klik op 'Select input folder'.
Ik heb van te voren een mapje Temp gemaakt,waar ik alles opslaat.
Ga naar het mapje waar je alles op wil slaan.
Klik op ok.
Klik op Extract.
HdBrStreamExtractor zoekt naar de bestanden.
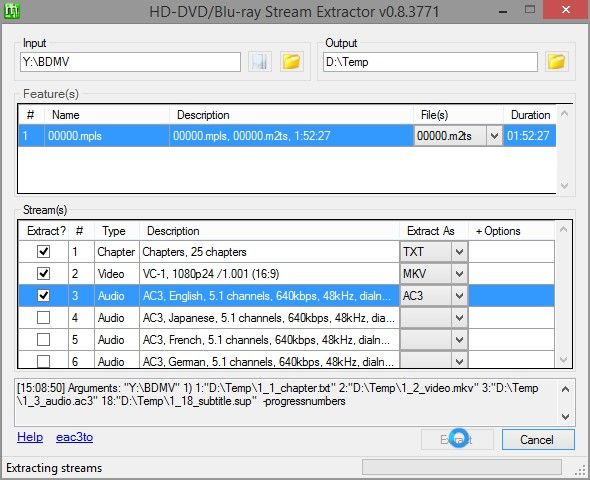
Even alles analyseren.
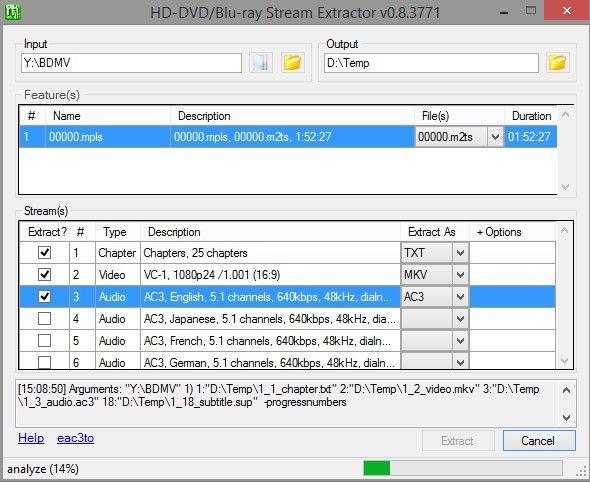
En demuxen maar.
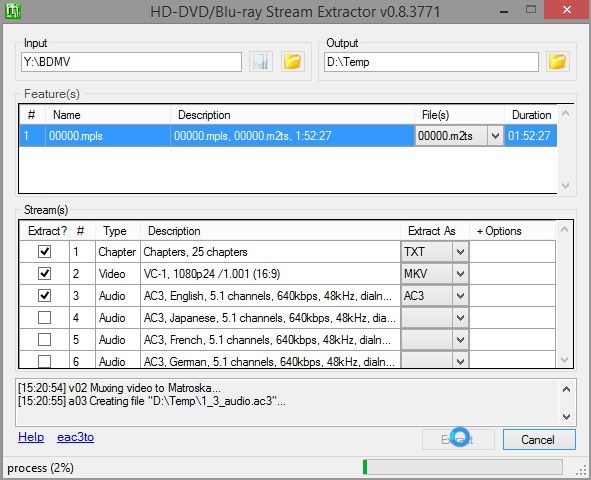
Alles staat nu opgeslagen in het mapje Temp.
Sluit HdBrStreamExtractor.

Hoofdstuk 2
Video converteren naar AVC1
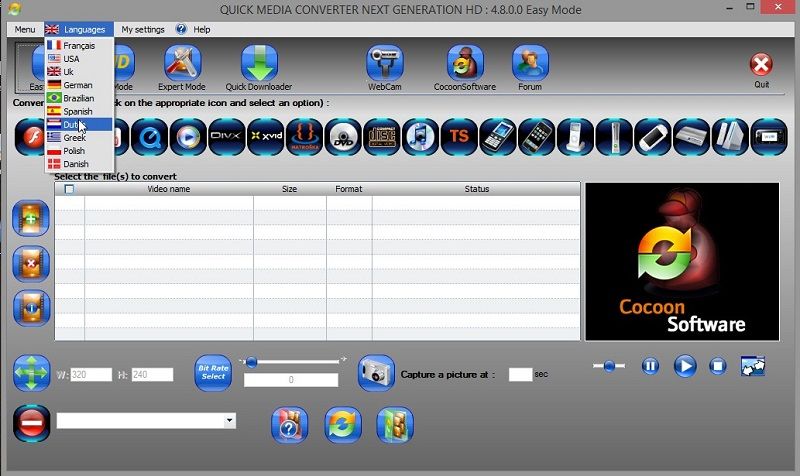
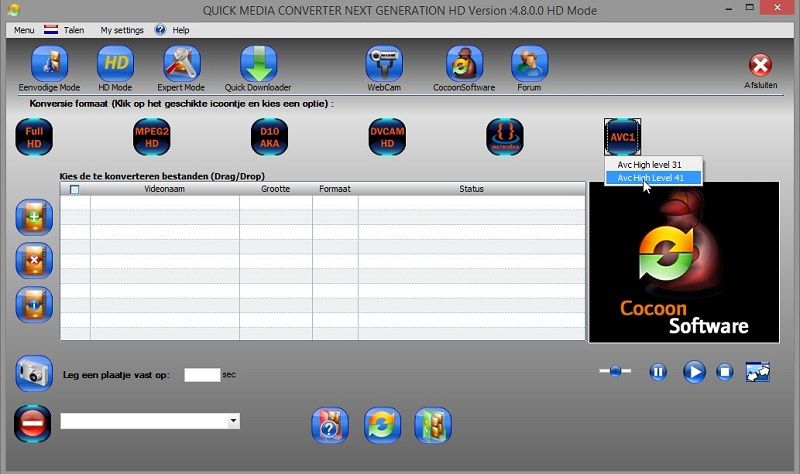
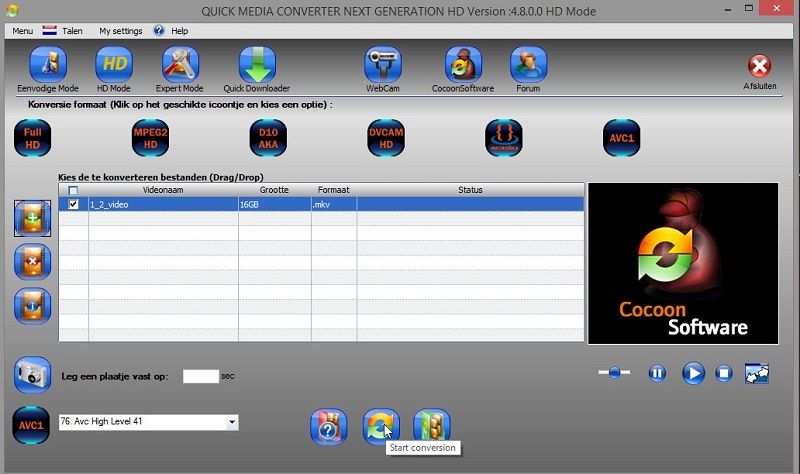
Open QuickMediaConverter .
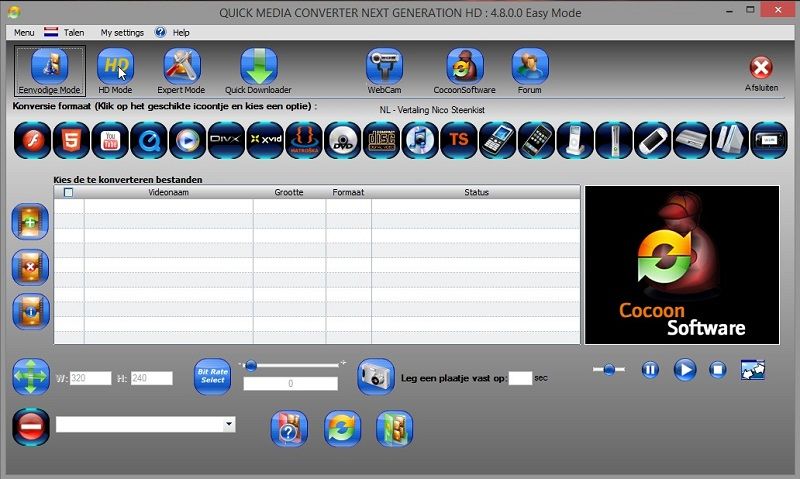
Zet voor het gemak QuickMediaConverter in het Nederlands.
Klik op de HD mode.
Klik op AVC1 -> avc high level 4.1
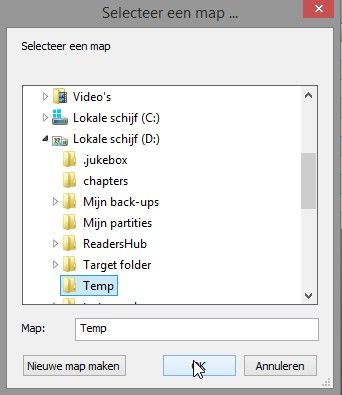
Klik op de folder om de doelmap te kiezen.

Dat is ook het zelfde mapje Temp.
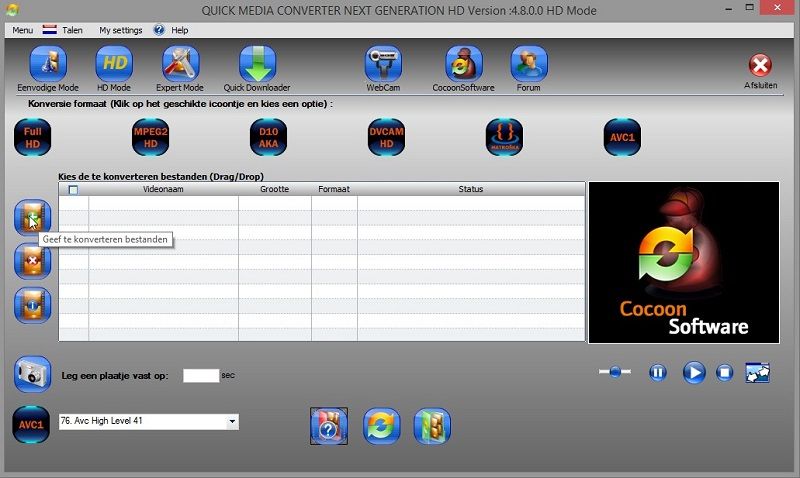
Klik op het groene plusje.
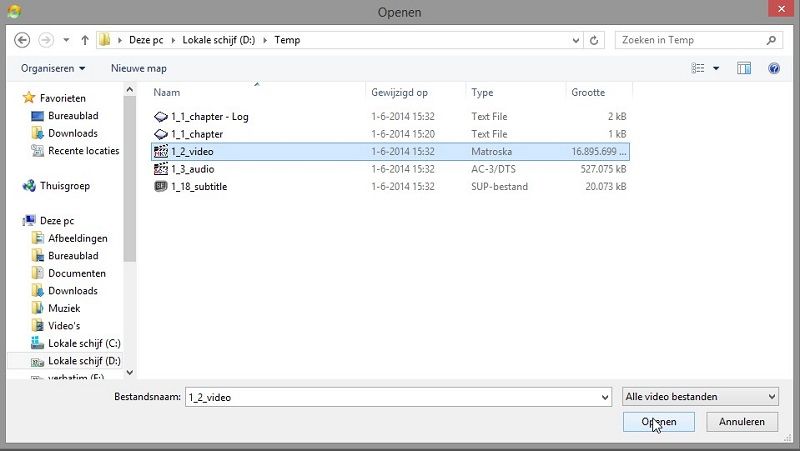
Open de video die extract is uit de bluray.
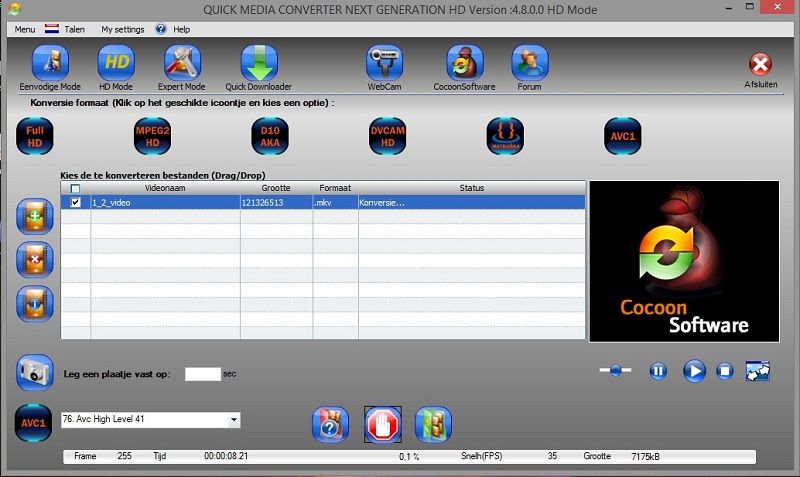
Start converteren.
QuickMediaConverter is nu bezig .
Dit kan voor een zware pc al langer dan een uur duren.
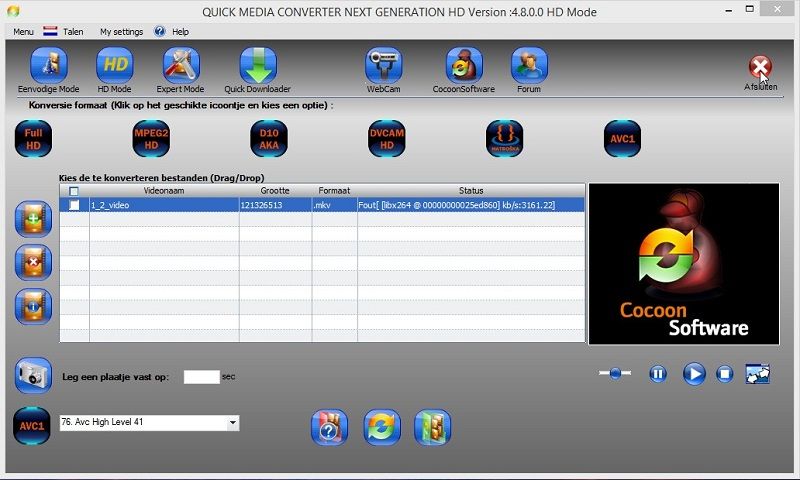
Alles is gereed met een vreemde foutmelding.
Van die foutmelding heb ik nog geen nadelige gevolgen gevonden.
QuickMediaConverter afsluiten.
Hoofdstuk 3
Van sup naar vobsub(ondertiteling).
Om van sup naar vobsub te gaan is nodig om de ondertiteling leesbaar te maken voor de meeste mediaplayers.
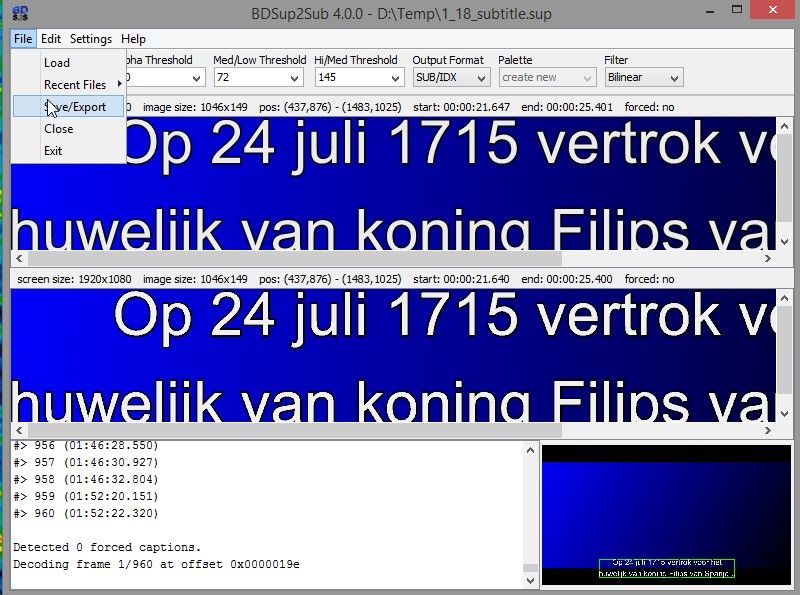
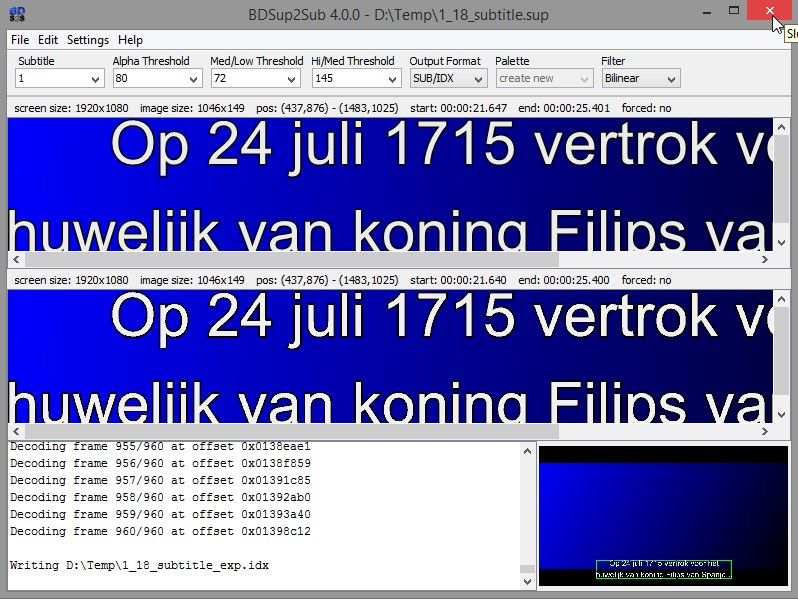
Open BDSup2Sub.
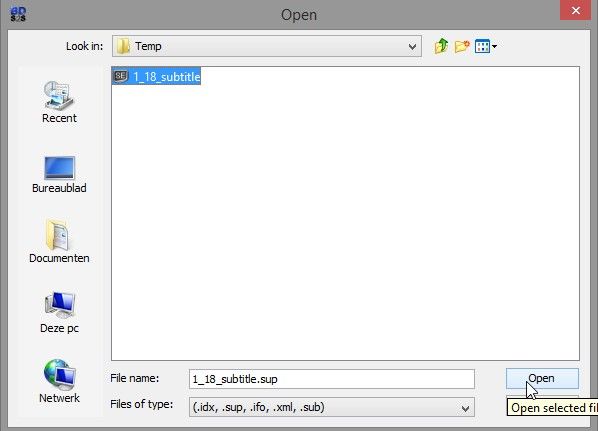
Klik op file -> load
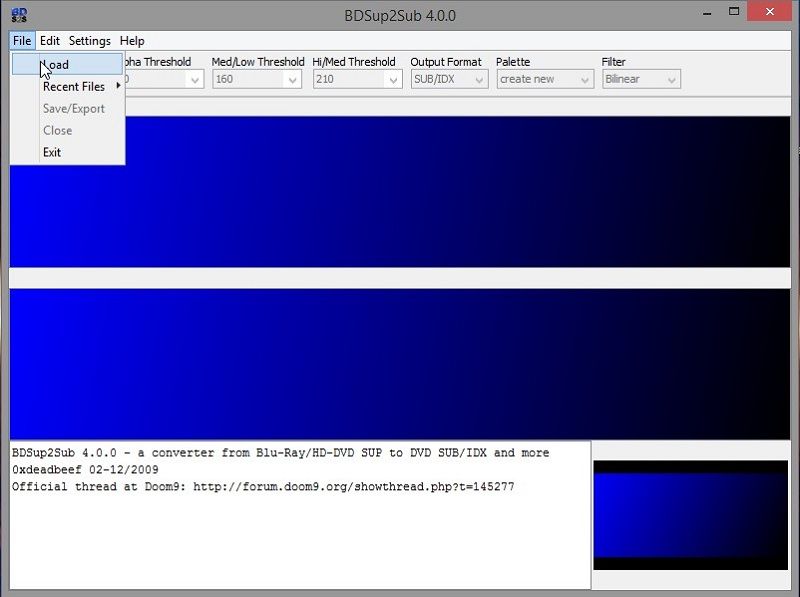
Open de ondertiteling die extract is uit de bluray.
Er komt een popup.
Klik op ok.

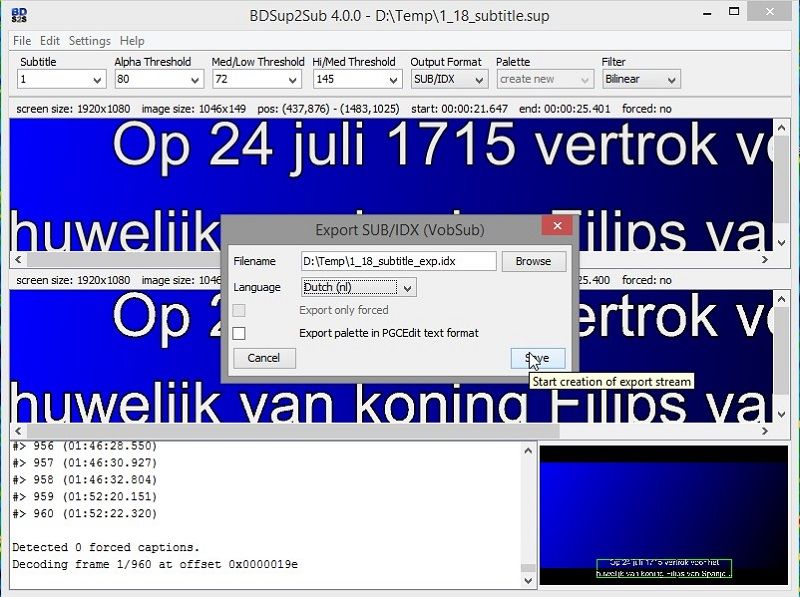
Kies save/export.
Kies het outputmapje Temp
Kies de juiste taal .
Klik op save.
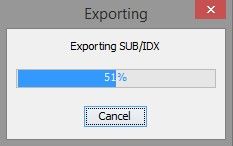
BDSup2Sub zet alles in een paar seconden om.
Sluit BDSup2Sub.
Hoofdstuk 4
Alles weer in elkaar muxen.
We hebben nu alle bestanden bewerkt ,en kunnen alles muxen tot 1 mkv.
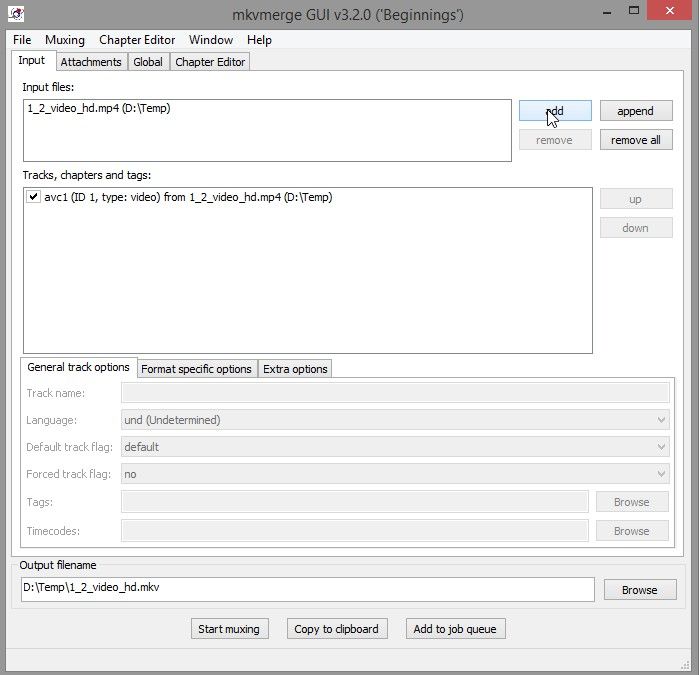
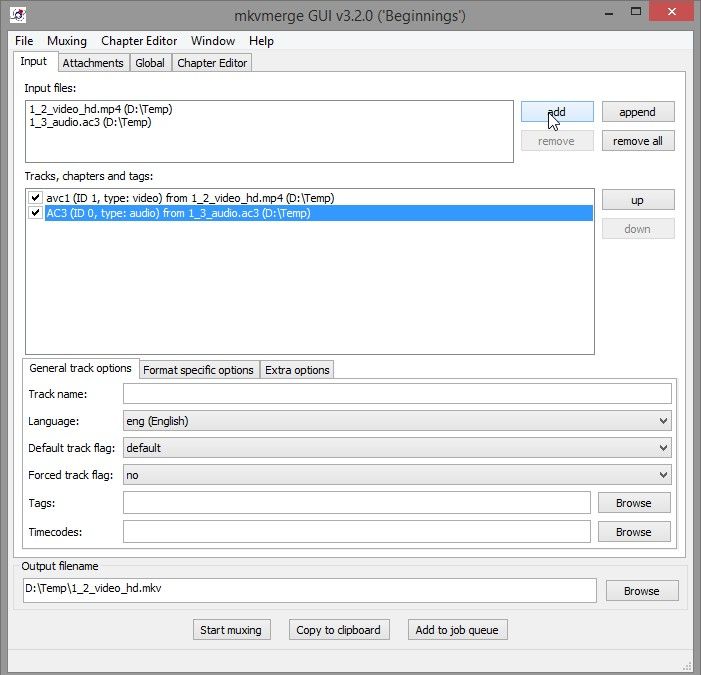
Open mkvmerge GUI.
Klik op add.

Kies het video bestand(mp4) dat QuickMediaConverter gemaakt heeft in het mapje Temp.
Klik op openen.
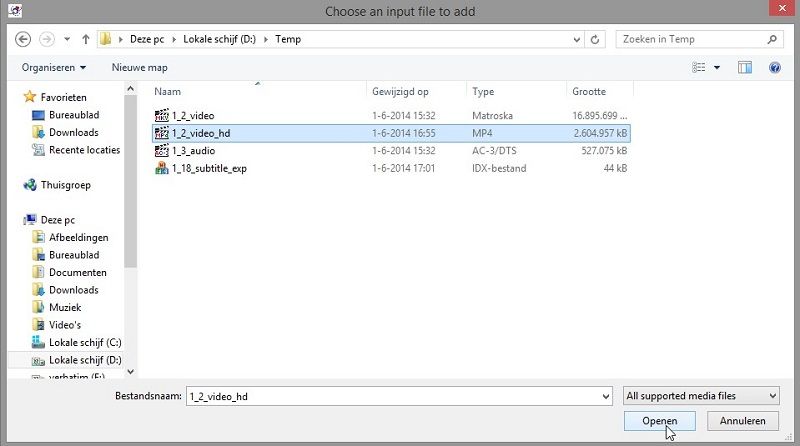
De video staat in mkvmerge GUI.
Klik op add.
Kies nu de audio die HdBrStreamExtractor gemaakt heeft in het mapje Temp.
Klik op openen.
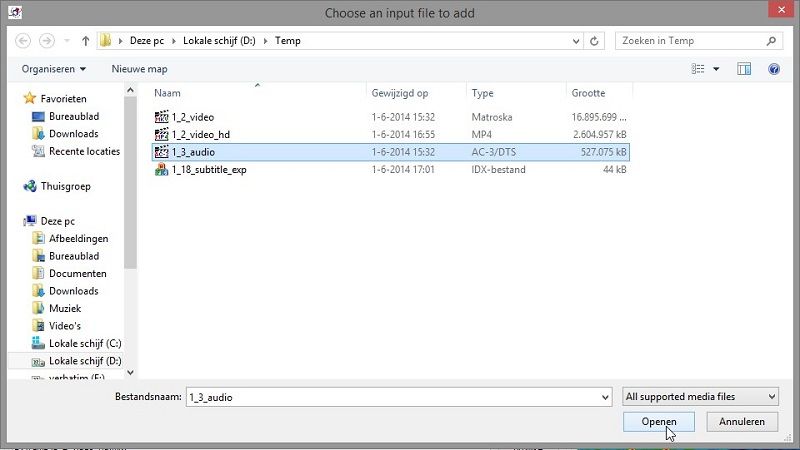
De audio staat in mkvmerge GUI.
kies gelijk de goede taal.

Klik op add
Kies nu de ondertiteling die BDSup2Sub gemaakt heeft in het mapje Temp.
Klik op openen .
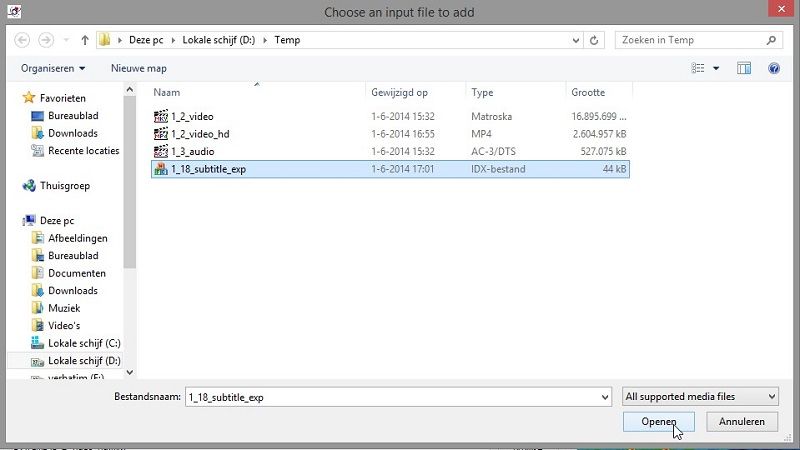
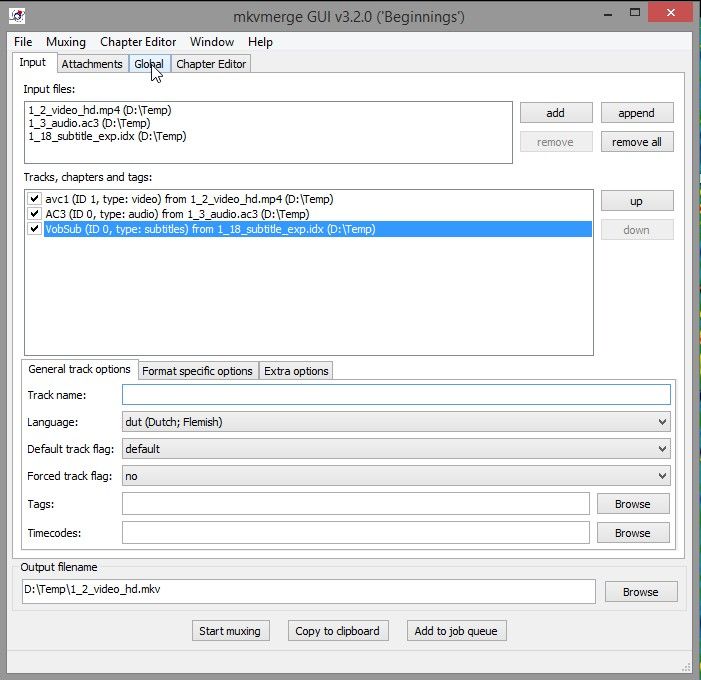
De ondertiteling staat in mkvmerge GUI.
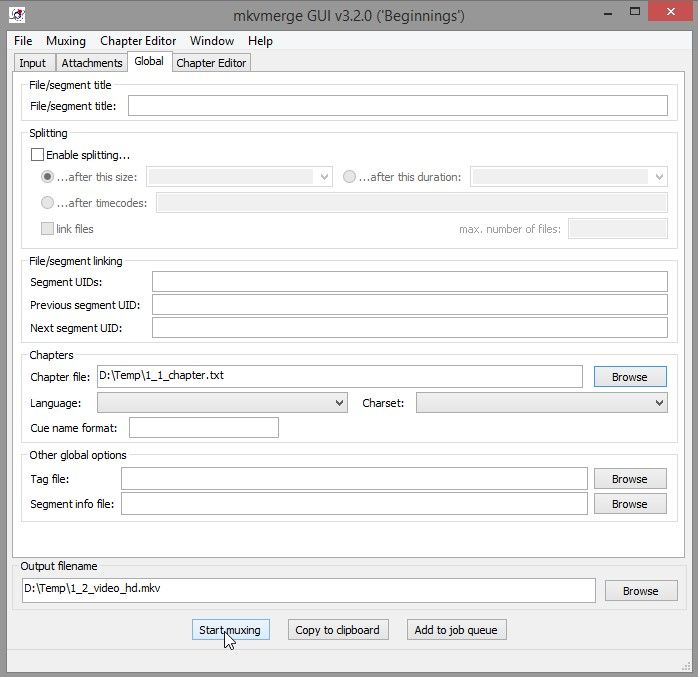
Klik op global.
Klik op browse.
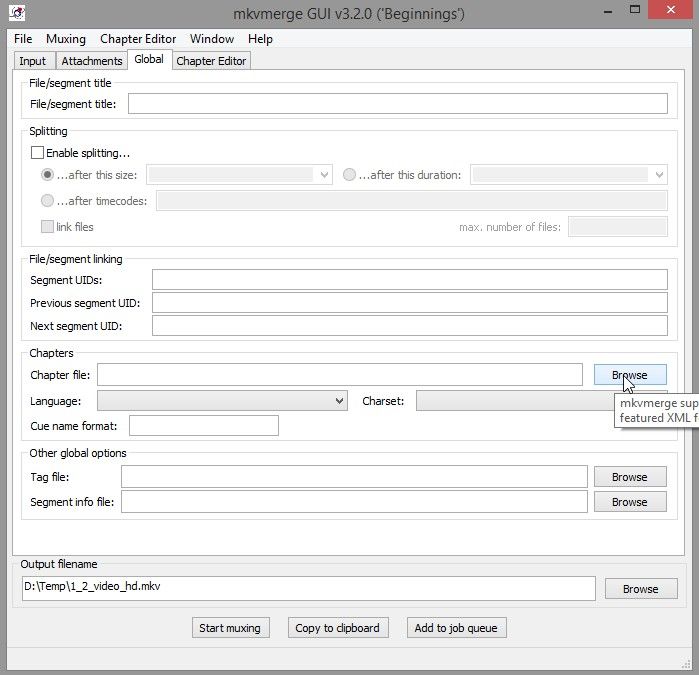
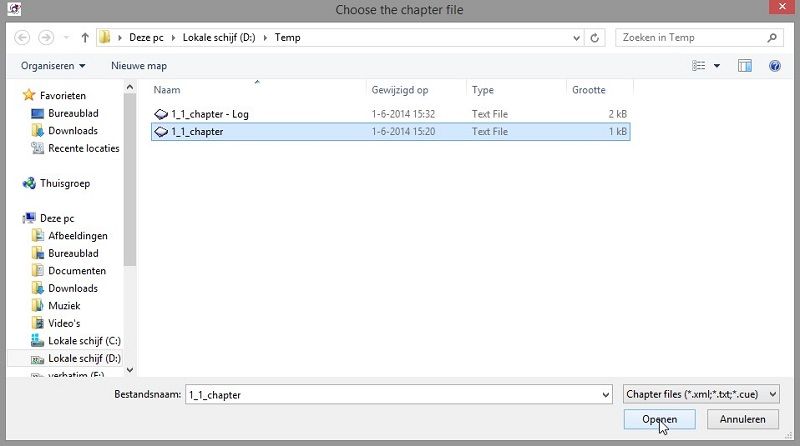
Ga naar het chapter file die uit de bluray extract is.
Klik op openen.
Alles is nu ingevoerd.
Klik op 'start muxing'.
Alles wordt nu tot 1 mkv samengesteld.
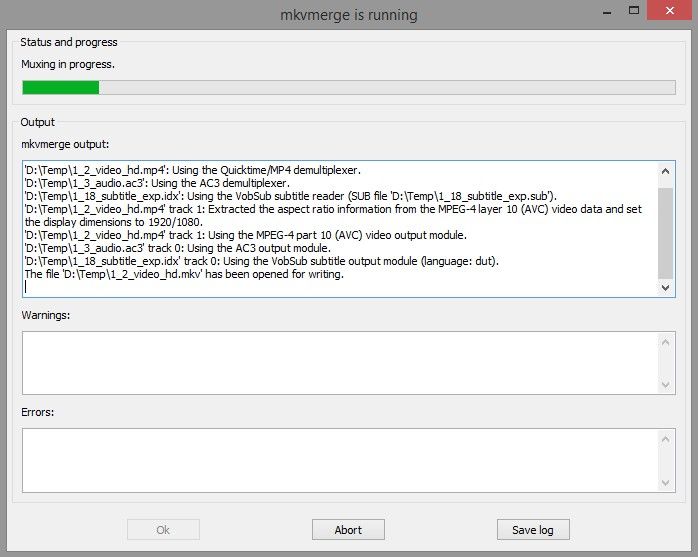
Alles is in orde.
Open folder om het resultaat te bekijken.

Open de net gemaakte mkv .
Kijk is naar de grote dat is een kleine 3gb.
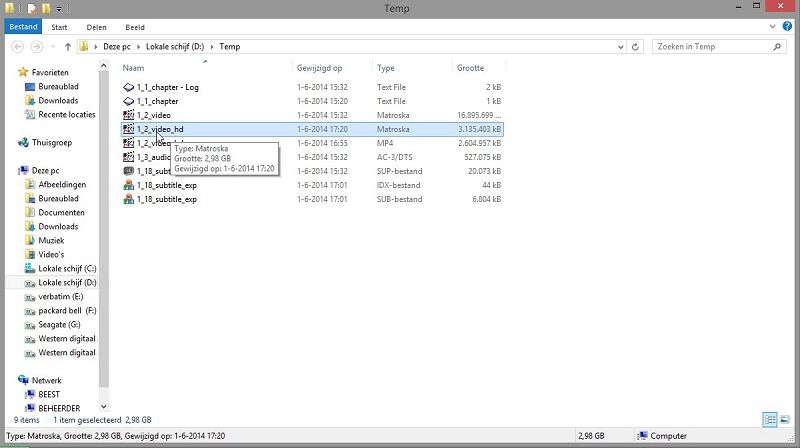
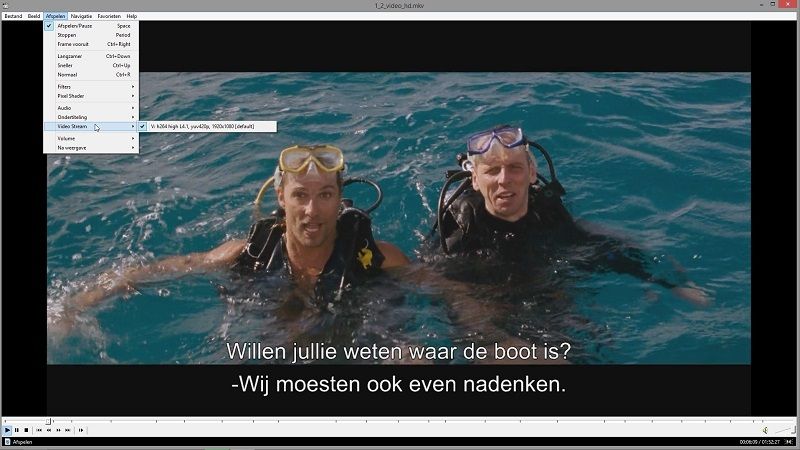
Dit is dan het resultaat.
Veel plezier met je MKV AVC1.